Wednesday, July 28, 2021

Google Photos photobook review (soft & hardcover)

I'm not usually big on printed photobooks, but after seeing a small softcover version a friend purchased, I thought it might be worth a second look. 
After doing a little bit of online searching, I decided to give Google Photos photobooks a try. My husband and I already regularly use Google Photos to share pictures with each other (Google Pixel and iPhone incompatibility lol) so I didn't have to worry about uploading and the prices seemed reasonable for what I wanted.

The process -
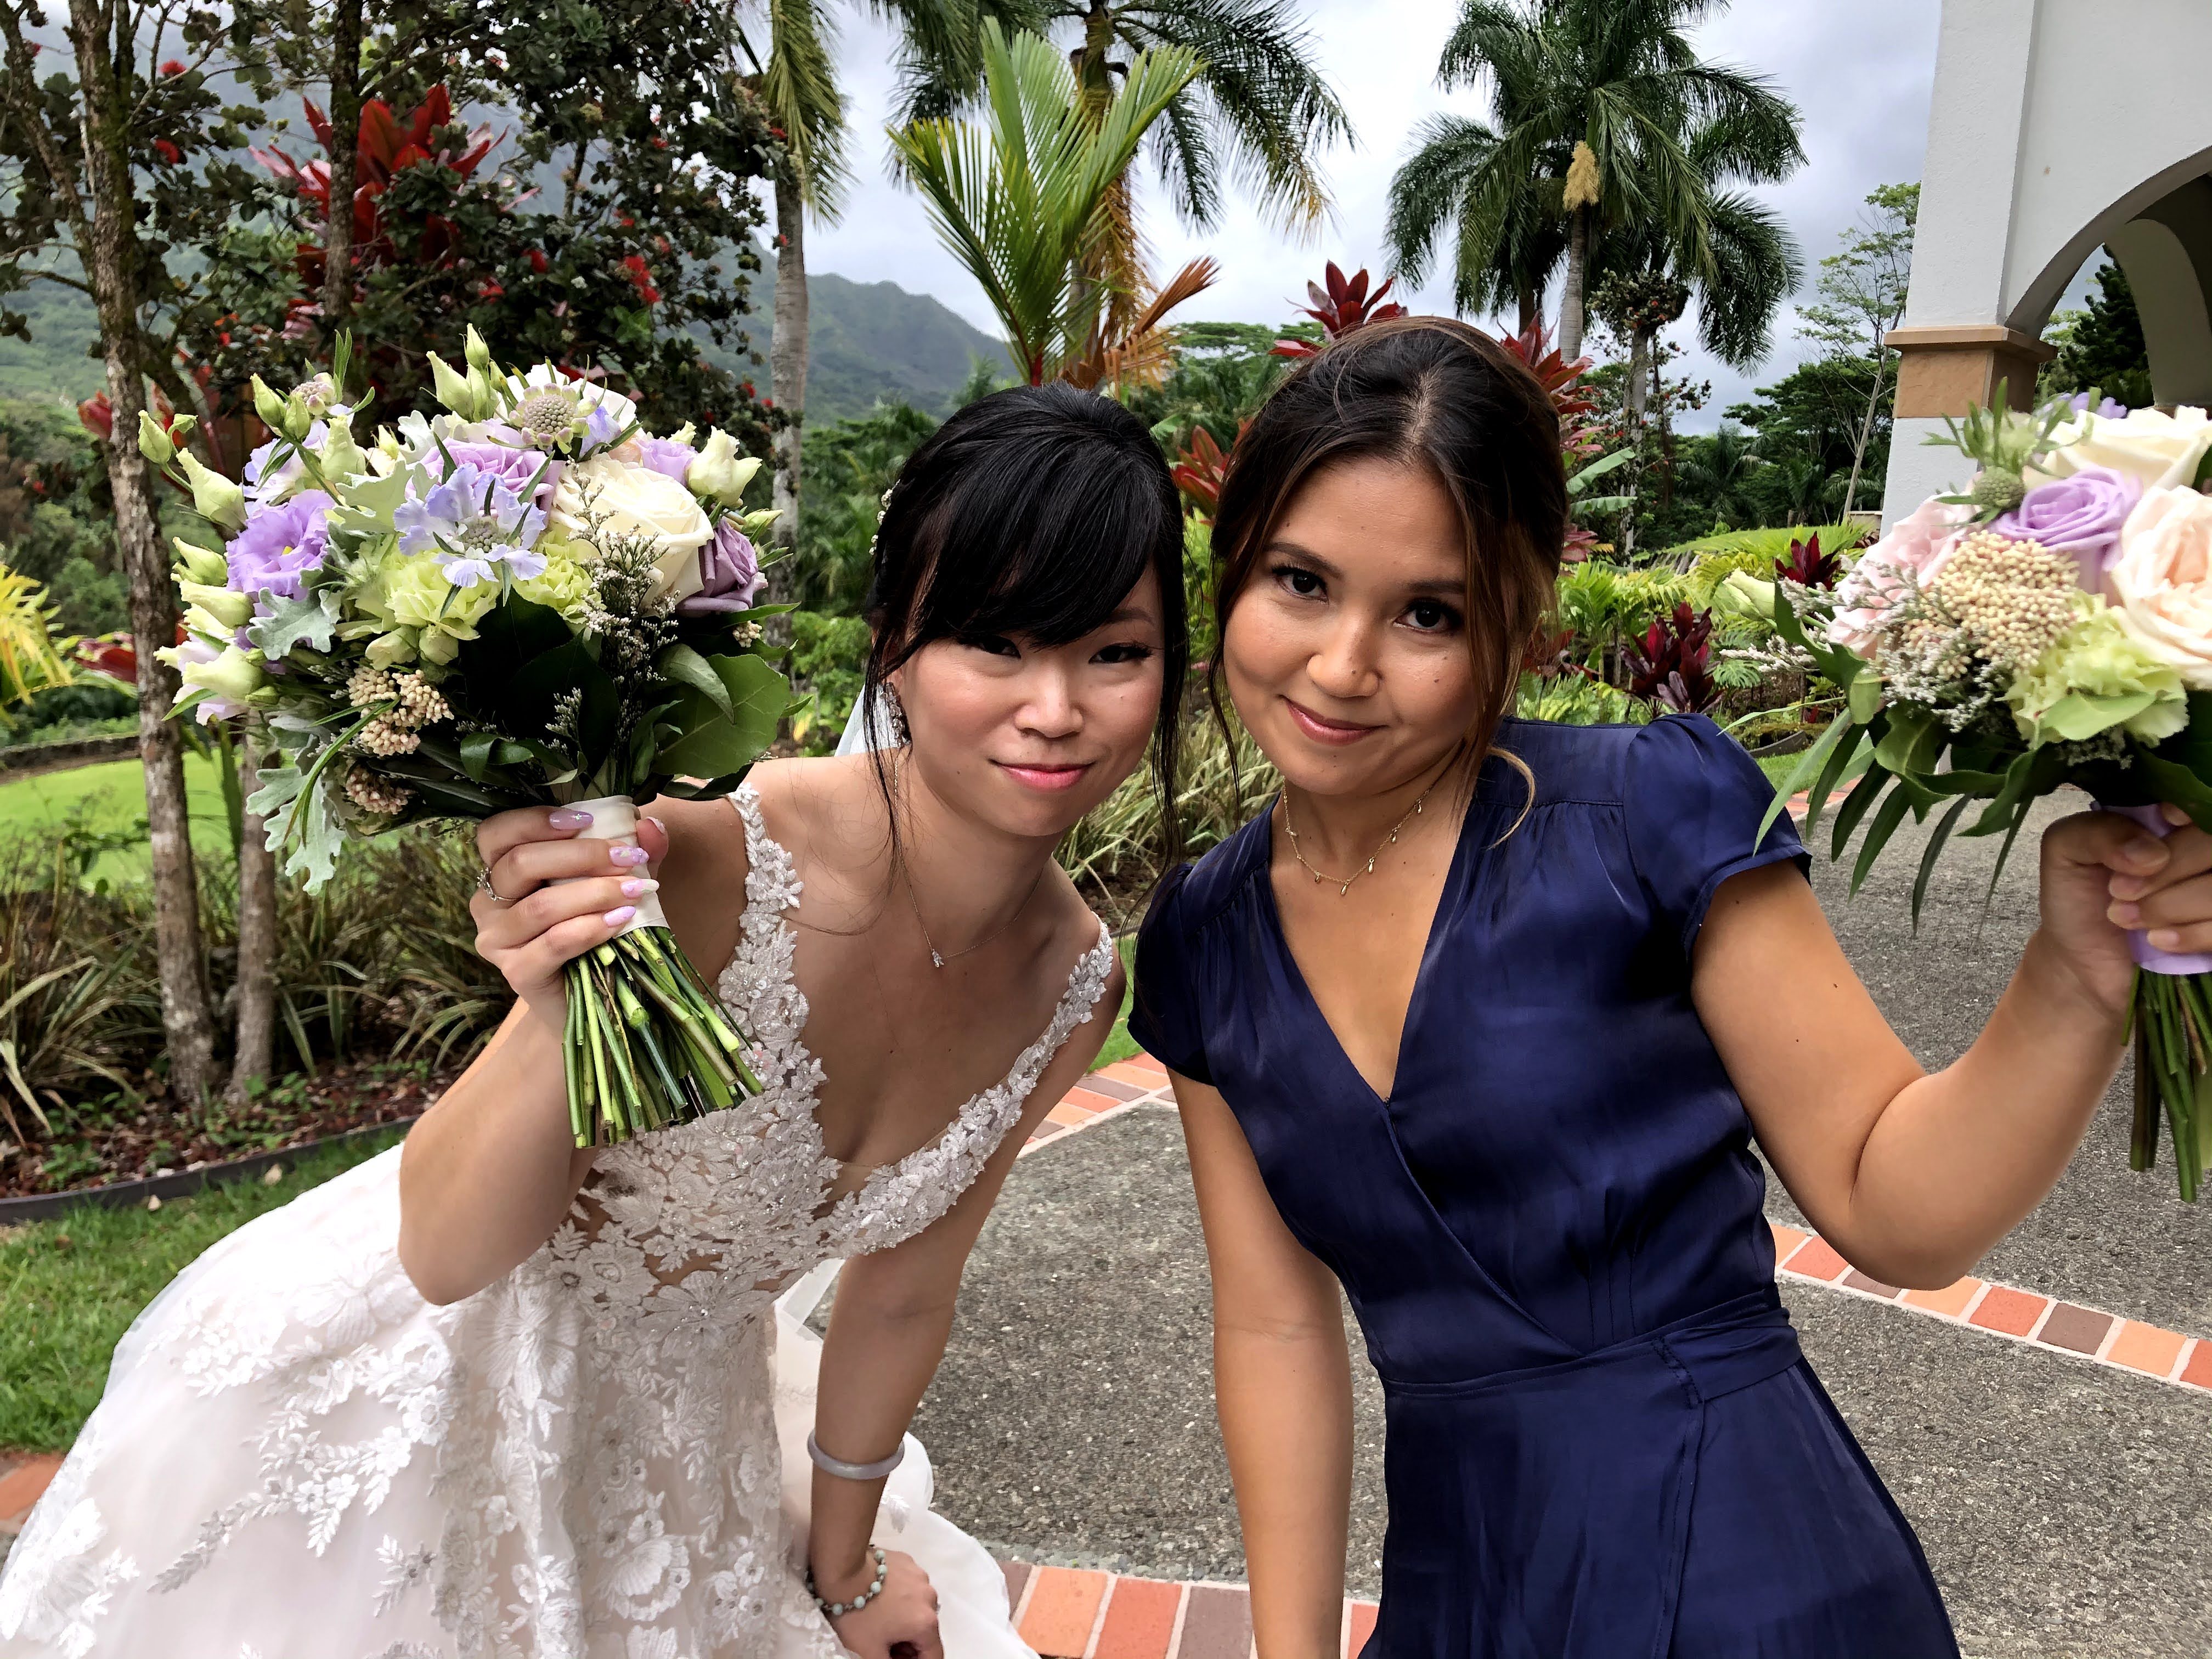
I wanted to try out the photobook with our Derek Wong Photography "engagement" photos (blog post) because I thought they were a really nice set. Since our wedding photos would also be from Derek, I wanted to see how his editing style printed in this format. 

I already had a Google Photos album with all of the photos that I liked, and just had to click on Order > Photo Book to begin creating. 
I would recommend eliminating any photos you don't want in the photobook from the album and also putting them in the order you'd like to see the photos in in the book ahead of starting. This will make editing a lot easier. 

The photos will be automatically added to pages and then it's up to you to edit, add captions and change format as you see fit. 

For single photos, there's three main options for layout - full photo/no crop with border and caption option, square crop with border and caption option and then full page, square crop without caption. 
For collages, you can do up to 4 photos per page (from any photos uploaded to Google Photos, not just in the album) and there are set layouts to choose from based on how many photos you're using. You can't do a full photo page (without caption) option for collage pages. 
You can also zoom/"crop" and adjust the photos or replace the photos once you click on them. 

I thought this editor was a little clunky, not the best I've ever used, but definitely not too bad once you figure it out. (I'm a loser and it took me a while to figure out how to do collage pages....all the way until I was almost done with the first book lol). 
You also can't format the caption at all. It's just a standard san serif font and centered on the page. I chose not to add any captions for either of our photobooks. 

The physical photobook (7" softcover) -
It's about the size of the average mousepad and at 35 photo pages, it's not too big or obtrusive. Since it's softcover, it doesn't really have a luxurious feel, but that's not really what I was expecting or trying to achieve. To me, there can definitely be a time and a place for a more casual photo book and that's what this feels like. I did make a mistake and didn't realize you could change the format of the cover of the photobook so that's why there's the title/caption there, but if I could do it over, I would definitely get rid of that. (Note that the title is centered, but I edited out the portion with our names in it.) 
Each page turned out just about as I expected it. The print quality is really nice, but it also helped to have professionally shot photographs to begin with. I picked a selection of the full page photos, uncropped photos, square cropped with border and then a collage to show here. The inside of the cover is blank and the last page to the back cover is also blank. 
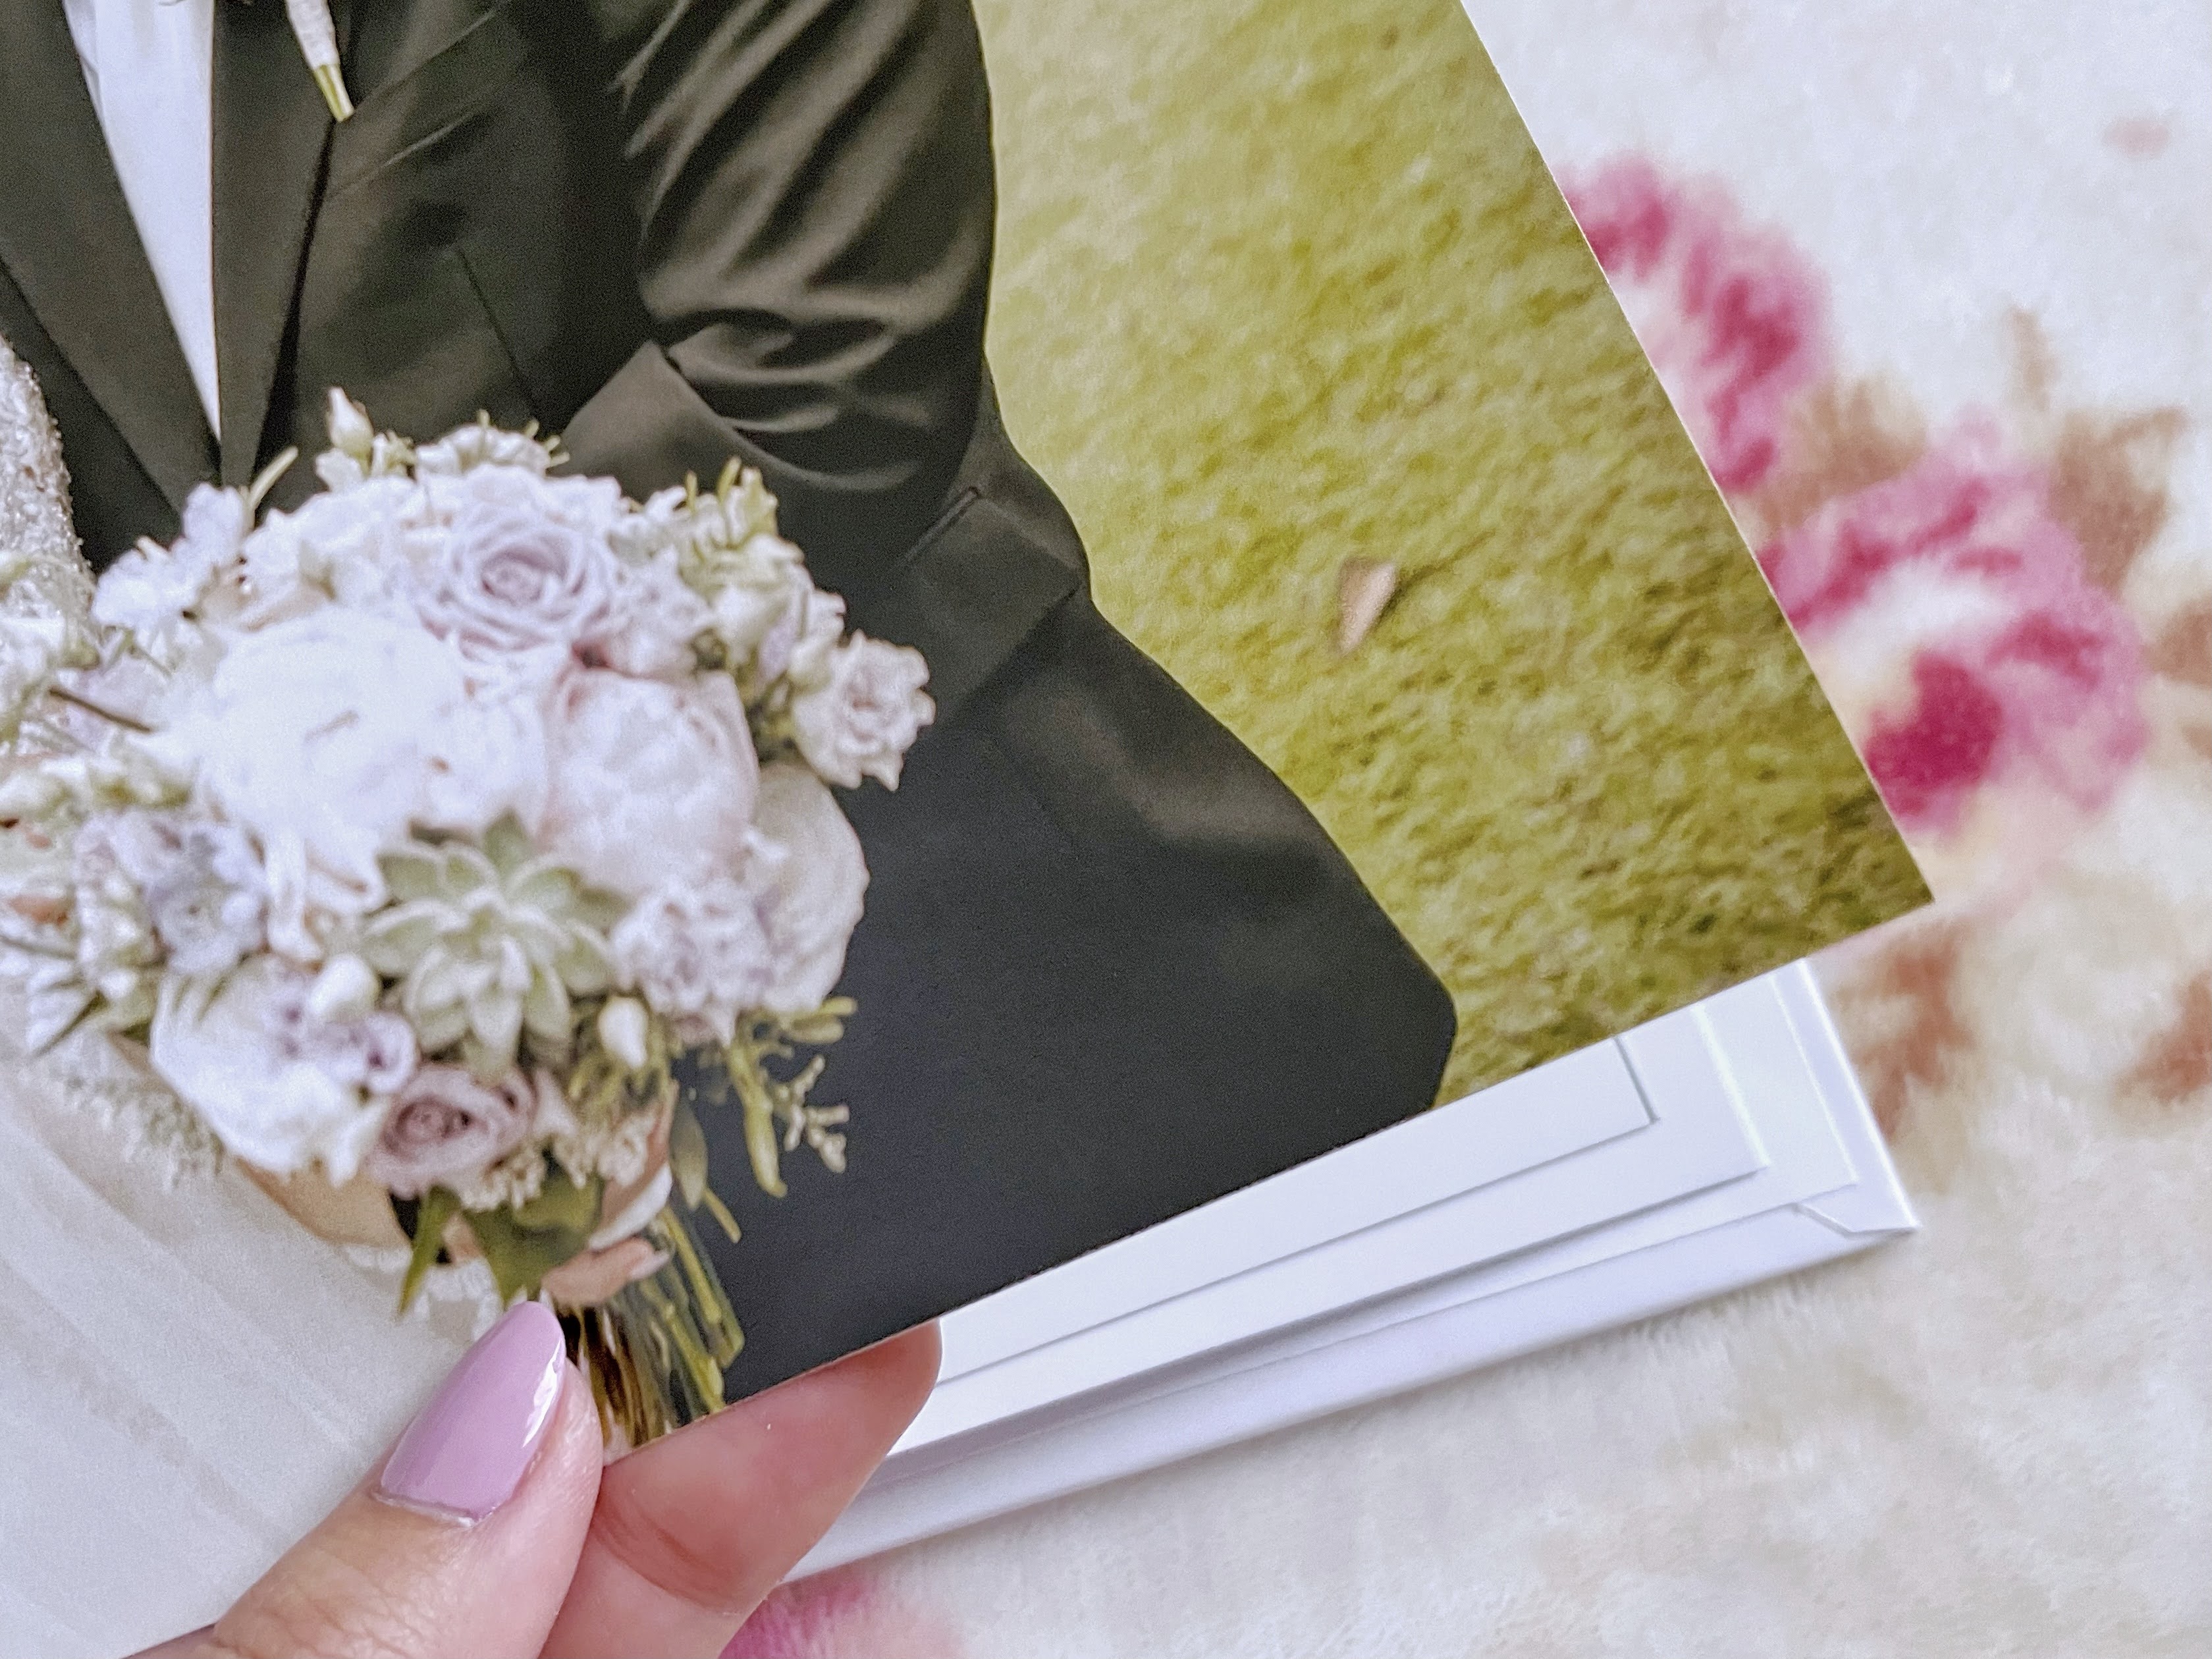
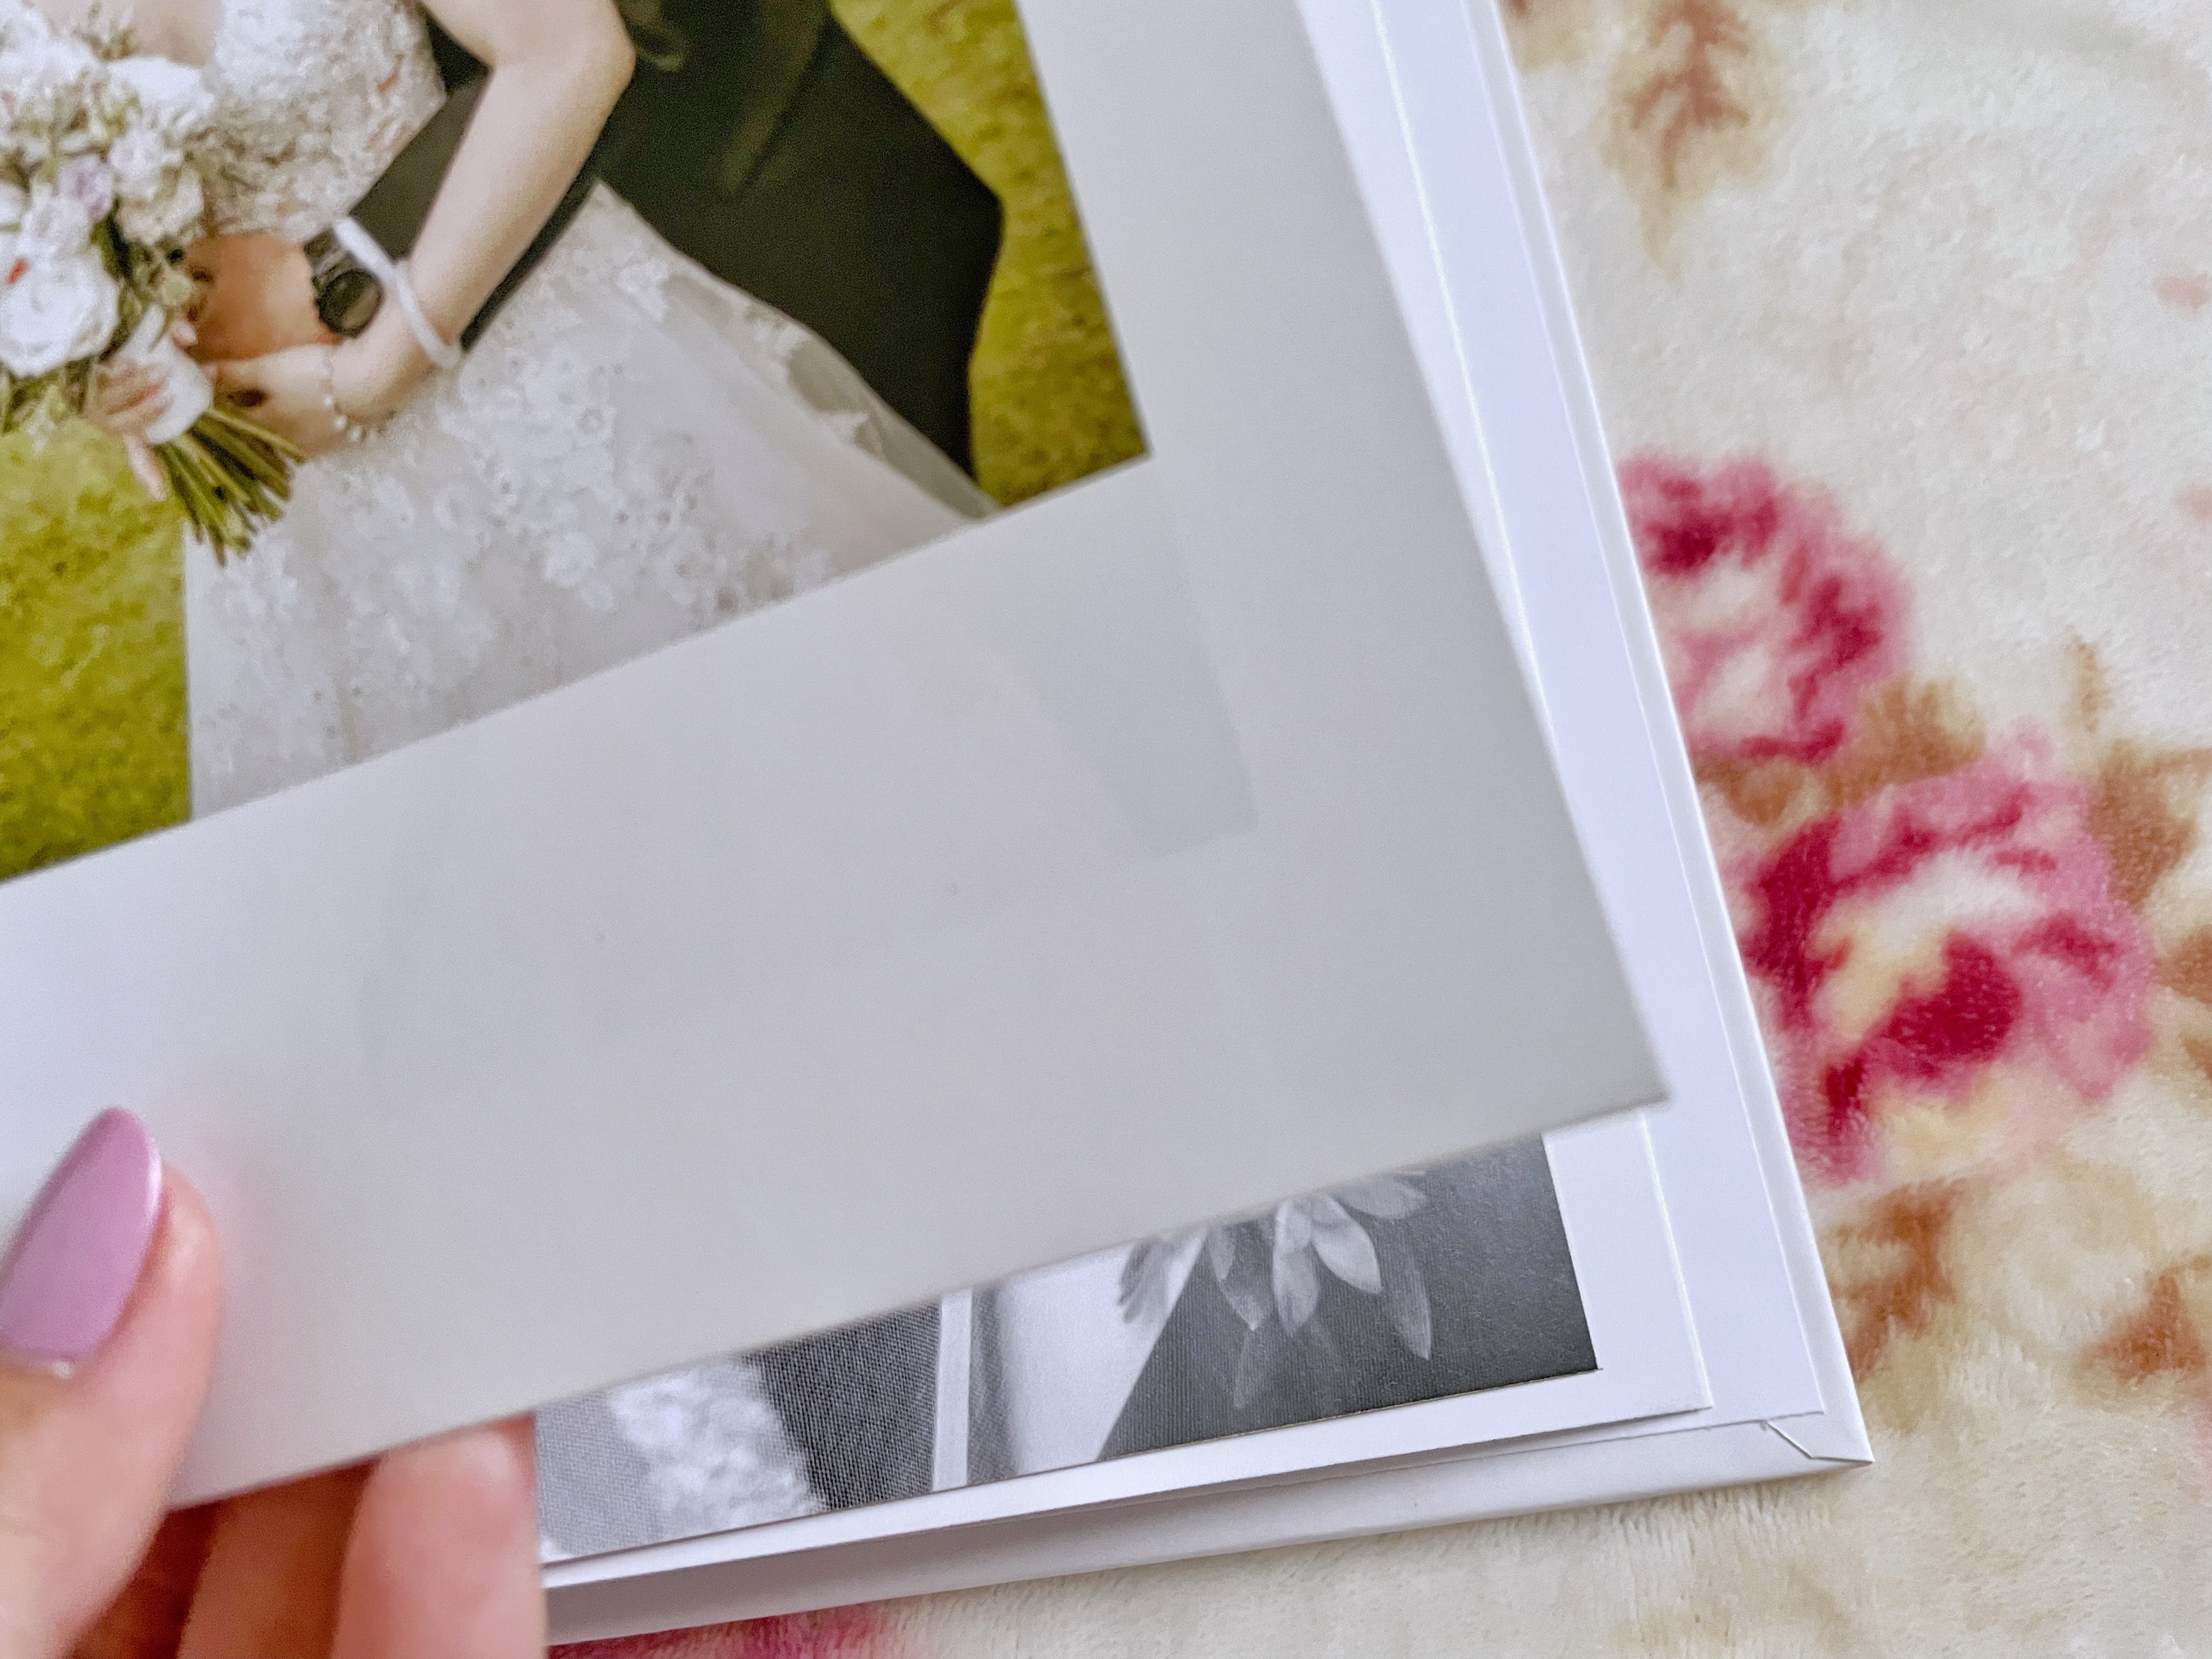
The full page photos are printed all the way to the edge of the page and are really very nice. The front and back cover are made of a slightly thicker paper that's still nice and smooth. This book turned out to meet my expectations in a really great way. 

The physical photobook (9" hardcover) -
Being a 9" square, it's obviously bigger than the softcover version and does have a bit more of a expensive feel in comparison. The cover helps a lot but also the size helps give that impression. There are a lot more photos in this book overall and 71 photo pages. I made this one second, so I learned a bit and was able to make the cover without the title/caption this time. This one has more of a spine and our "title" is displayed there (with blur for privacy). 
Similarly to the softcover book, I just picked a small selection of pages here to show how the collages and different layouts look, but this is far from all of it. (Any off-color is likely due to my lighting/photo of the book rather than the printing.) I created the family photo spread by adding the same photo to two pages and carefully scaling/cropping it to fit with the seam (there is a little overlap on both sides to accommodate the bend). I did this for the three larger family photos I wanted to include and they all turned out not too bad, if I say so myself, but it would be nicer if there was a way for that to be built into the book editor. 
Again, here's also some close ups of the edges of the pages. The right side full size photos printed well all the way to the end of the page, but actually the left side ones have a very slight lighter band on the very bottom, which is not noticeable at all unless you're specifically looking for it and I consider it pretty minor. Overall, I'm quite pleased with it. 

Timeline & pricing -
Softcover 7" photobook 
35 pages, 37 photos (including photo on cover, not too many collages)
$9.99 for the first 20 pages + $5.25 for 15 additional pages ($0.35/page) + $9.99 Economy shipping
Total was $26.42 including tax
Order submitted: June 13
Order shipped via Economy shipping: June 15
Order received: July 14 (32 days after ordering)

Hardcover 9" photobook 
71 pages, 102 photos 
$19.99 for the first 20 pages + $33.15 for 51 additional pages ($0.60/page) + $12.99 Priority shipping
Total was $69.25 including tax
Order submitted: July 15
Order shipped via Priority shipping: July 16
Order received: July 20 (5 days after ordering)

Overall - 6/10, not terrible but not A+
Pros: 
    If you already use Google Photos and want to quickly print a whole album, it's very convenient
    Printed quality is very nice
    Price is pretty reasonable for the photobook (especially the softcover)
Cons: 
    Collage options are not highly customizable & can't do a single photo 2-page spread (starting from left page and continuing the same photo to the right page) without significant manipulation
    Caption options/formatting are not customizable 
    Economy shipping is very slow for the cost
    Square books are the only option meaning full page photos are all square cropped
It definitely gets points for the product itself being quite good, but a lot of points deducted for the limited customization options (size, font, collage) compared to other photobook websites. That being said, I think the base price for this book is cheaper than sites like Shutterfly, except when it comes to shipping cost + shipping time which is a big irritation to me. You may have better luck with the economy shipping time if you live on the mainland though!  
I did order the second book after receiving the first one if that is an indication of anything ("splurging" with the priority shipping for the second order because I just did not like waiting 1 month), but I do consider price and quality to be more important to me than customization options and I tried to get around the single photo 2-page spread by just manually cropping one photo over two pages lol. 

I wanted to write this quick little post because I hadn't been able to find any recent Google Photos photobook reviews when I was considering my options. This isn't typical content for me, so if you have any additional specific questions for something I missed, please leave a comment!

Thursday, July 22, 2021

Our wedding - May 23, 2021 at RHGC in Kailua, HI

As mentioned in my previous wedding planning post, my husband and I have been lucky to be married since November 29, 2019. I went into the details of how we ended up with a May 23, 2021 wedding event more in depth in that same post, so if you're interested, please go back and look!
This post is going to be half photo dump/half me recording the details of what happened surrounding the wedding so I can remember later. 
For an detailed review of the venue and what happened (👎), please check out my previous post here.

Getting to the venue - 
Morning of, I got ready in my Liz Lisa romper and a cardigan but no hair and make up of course. I had packed up my Liz Lisa x My Melody suitcase and a tote bag the night before, so I just grabbed them and went out to meet my MOH who picked me up around 05:00am. 
We got to the venue around 30 minutes later, still before the sun was really peaking out,
and settled into the bridal room which is tucked into the back of the small Maunawili ballroom. Kelly Sugano from A Perfect Day (APD) was already there and got right to work as our day of coordinator. She would eventually have 2 assistants join her (another Kelly and Liz). 

Getting ready -
Face Art Beauty showed up and started getting set up and working as soon as they got there. Dhyana worked on my bridal hair and make up. Jaime took care of my MOH's hair and make up and then my mom's make up after. Derek Wong Photography (Derek and his assistant photographer Kathy, DWP) showed up around 07:00am and started shooting (details and getting ready).
My husband was supposed to be in the men's locker room (which is nice and a lot larger than it sounds), but since the AC was broken everywhere else, he waited and got ready in the open ballroom area just outside the bridal room. (Kelly from APD helped coordinate between my husband and me since we had elected not to see each other before the first look.)

First look (on the golf course) -
My husband was understandably ready a bit before me, and he was shuttled to a specific location on the golf course on his own. I was done getting ready just after 08:00am and my MOH and I got into the golf cart that was waiting for us back at the clubhouse after dropping off my husband. Kelly (APD) ensured that we didn't see other before the actual first look. 
A simple tap on the shoulder first look and then Derek (DWP) started capturing some photos of us in this setting.
We had a few shots and then some golfers caught up, and we got shuttled back to the clubhouse. Since there was only 1 golf cart available, my husband, Derek (DWP) and I went back in the first trip and then my MOH, Kelly (APD) and Kathy (DWP) had to wait on the course until we were dropped off. 

Portraits with family & friends -
We asked most of our guests (almost all of which were either family or supposed to have been in the wedding party) to be at the venue at 08:30 for family portraits. Since we did the first look (and were already married anyway), we decided to take care of these photos before the ceremony so guests could just enjoy cocktail hour right after. We had about 22 different combinations and Kelly (APD) helped us coordinate them so Derek (DWP) could mostly focus on shooting. 
For privacy reasons, I blurred out the faces of our family and friends throughout this post when I didn't want to just exclude the photo altogether, which I now realize looks a bit scary. But at the time, I thought it looked better than a sticker or block. Obviously that's debatable at this point. 
In any case, we definitely took more than just this, but this is just a few to give you an idea of what they looked like (composition and background). I thought they came out quite well and already printed out a couple mounted photos for grandparents! 

Ceremony - 
While we were doing the first look and getting ready, my friends had set up the circle arch that they made and brought to the venue. (They actually made it for my friend's SIL's wedding but she ended up postponing until after our event, so we used it first.) 
Halu Flowers (Takako and Mika) did a great job bringing our floral vision for the arch to life and had everything set up well ahead of time for our ceremony and picture taking. 
After the formal portraits were completed, my husband, my MOH and I went back to the bridal room for a little bit (after walking up through the clubhouse, leaving through the lobby and walking back in through the back hallway due to an ongoing church service - see my venue review for more information about that). We got to hang out for about 10 minutes before it was time to get ready for the ceremony to start!
We chose not to have an officiant because the minister from my church wasn't available (since we postponed to a Sunday. Our original date was a Saturday), and we figured we didn't want to go through the trouble of getting someone random since we were already legally married anyway. We exchanged a short selection of vows and just concluded the ceremony on our own!
For music, we had selected -
1st Processional song (for groom's parents, bride's mother w/escort & wedding party): "Sunday Candy" by Donnie Trumpet & the Social Experiment
2nd Processional song (for bride & bride's father): "I will follow you into the dark" by Death Cab for Cutie
Recessional song: "スパイス" by Tokyokarankoron
Kelly (APD) made sure we were all good and then she and her staff left as they were unable to assist with our reception and cocktail hour due to COVID restrictions. 

Cocktail hour / Reception - 
The cocktail hour with appetizers was supposed to have been in the Olena restaurant & open lawn area, but due to the church parishioners still using the space after our ceremony (even though we were told that they would be gone before our ceremony even started), our guests had to wait around outside until they finally cleared out and then just went straight to the reception area/Ali'i ballroom. They sat at the tables that were assigned for lunch. My husband and I went to take some additional photos with Derek (DWP) before we joined them. Halu Flowers moved our arch flowers into the reception area for us.
The cupcake cakes we got were ordered from We Heart Cake Company, but they no longer do delivery (and also no longer do wedding cakes). They also aren't open on Sundays, so we had to pick up the cakes ourselves on Saturday, store them in a refrigerator overnight and then ask my cousin to bring them to the venue for us in the morning. It was a bit of a hassle, but we really liked the aesthetic of the cakes and the elegant toppings.
After Derek (DWP) checked with us that he had captured all that we wanted him to, he and Kathy left our reception as well. With the revised contact we had (due to our reduced program), he had agreed to split our original 6 hour booking into an engagement session + 4 hours of wedding photography (which we were very happy with), and they had fulfilled that requirement. Since we didn't really have anything planned for the reception (no dances, cake cutting or speeches), it didn't make sense to have them stay. 

Additional bride/groom photos! -
These are just some additional photos of my husband and me that were captured either before or after the ceremony, but I just wanted them to all be in one place in this post. These were all taken in the ceremony and open lawn area that the Olena looks out onto. 

A handful of non-Derek Wong Photography photos :)
My MOH and me right after finishing getting ready

Prepping for the family portraits

Polaroids from my MOH
I put my mom's wedding dress on later in the reception (after DWP had left) just for a bit for a fun surprise. I had brought it with me but didn't have definite plans to put it on which is why I didn't ask Derek to stay for it. There was a bit of a lull after lunch, so my MOH went with me to help me change into it. The big poofy sleeves 
We concluded the lunch naturally when people were done eating, drinking and enjoying. The plan for the reception in the COVID-environment was always to keep it casual. It wasn't what we were initially aiming for (we had wanted at least a photobook or some kind of activity, a first dance, some speeches), but I thought it worked out as something simple that fit our personalities while keeping health/safety in mind. Not a giant party, but at least we were finally able to get it over with! The pandemic really changed how the event shaped up, and even though we're sad we weren't able to celebrate with everyone on the original guest list, we're glad that our vaccinated family and minimal friends could make it. 

Our vendors -
* indicates a vendor I would wholeheartedly recommend for any event
Please check out my other wedding-related posts!