
 Let me first say - this isn't my idea! I saw it on a wedding-related Reddit thread and showed it to my husband to see if he would go for it. Thankfully, he also thought it would be interesting to try out.
 I've always felt bad throwing away cards after being given a gift, and cutting out a portion of each one to remember it by and display seemed like a really good compromise and fairly simple to do.
Step 1 - Collect the cards that you want to save/use for the art. I started with around 27 when I decided to commit to this project but ended up with 36 by the time I actually put everything together.
Step 2 - decide how you want to create your cut outs. I went with a Fiskars 2" (diameter) hex punch. This was about $12 on Amazon and worth it to me, however you can certainly trace and cut out each shape by hand if you prefer.

Other supplies I had on hand - craft glue, scissors, ruler, pen and eventually a piece of paper the size of my intended frame. I also used a paper cutter a few times to make using the hexagon punch easier on larger cards.

 It doesn't matter too much what the back of the hex looks like, so I didn't even have to be extremely careful. I would sometimes do multiple punches from a single card if there were more than one good option from it just to have some choices, putting the second choice on the side so I didn't accidentally incorporate more than one hex per card.


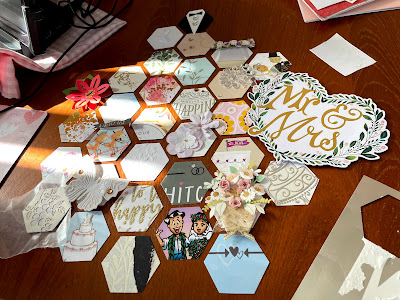 It may be helpful to keep in mind what standard frame sizes are (if you're planning to display that way). I was working towards an 11" x 14" frame. I started by just laying them out to see if that size would even be possible and then taped two pieces of paper together so I could see it on the actual boundary. (You may also need to keep in mind that frames sometimes take up 1cm to even 1in as a border!)


 Didn't want to waste space showing all the options but I sent these to my husband so he could have some input too lol. (We actually got one more card as I was finalizing the layout that's not included here!)


 I first glued on as many of the bases as I could and then worked on adding the last extra finishing touches like the bigger 3D pieces.
Step 8 - Complete the framing.


 Since this shadowbox is a bit deep and the contents aren't too heavy/are evenly distributed for the most part, it actually stands up well on its own without any support. We don't have a specific place in mind for this yet as we're in the middle of a move, but I think it would look quite nice next to some printed wedding photos (especially maybe a canvas print or two!).
I was really happy to have something to do with all the cards since it always seems so sad to just toss them in the trash, and at the same time, it doesn't seem reasonable to just keep all the cards either if you're not going to actually do anything with them. We didn't have a traditional guest book or anything for our wedding (especially since we had sized down), so I'm glad to have a keepsake like this that wasn't too hard to create and is easily displayable. There's lots of extra room in the shadowbox so I considering putting in some of our cranes or a picture or two from the event (I've also seen people put their entire bouquet in a shadowbox), but for now I'm enjoying it as is.


Step 3 - get punching! The Fiskars punch easily punches through 1 layer of an average card. Many cards are actually double layer on the cover, so I just found the seam and separated it.


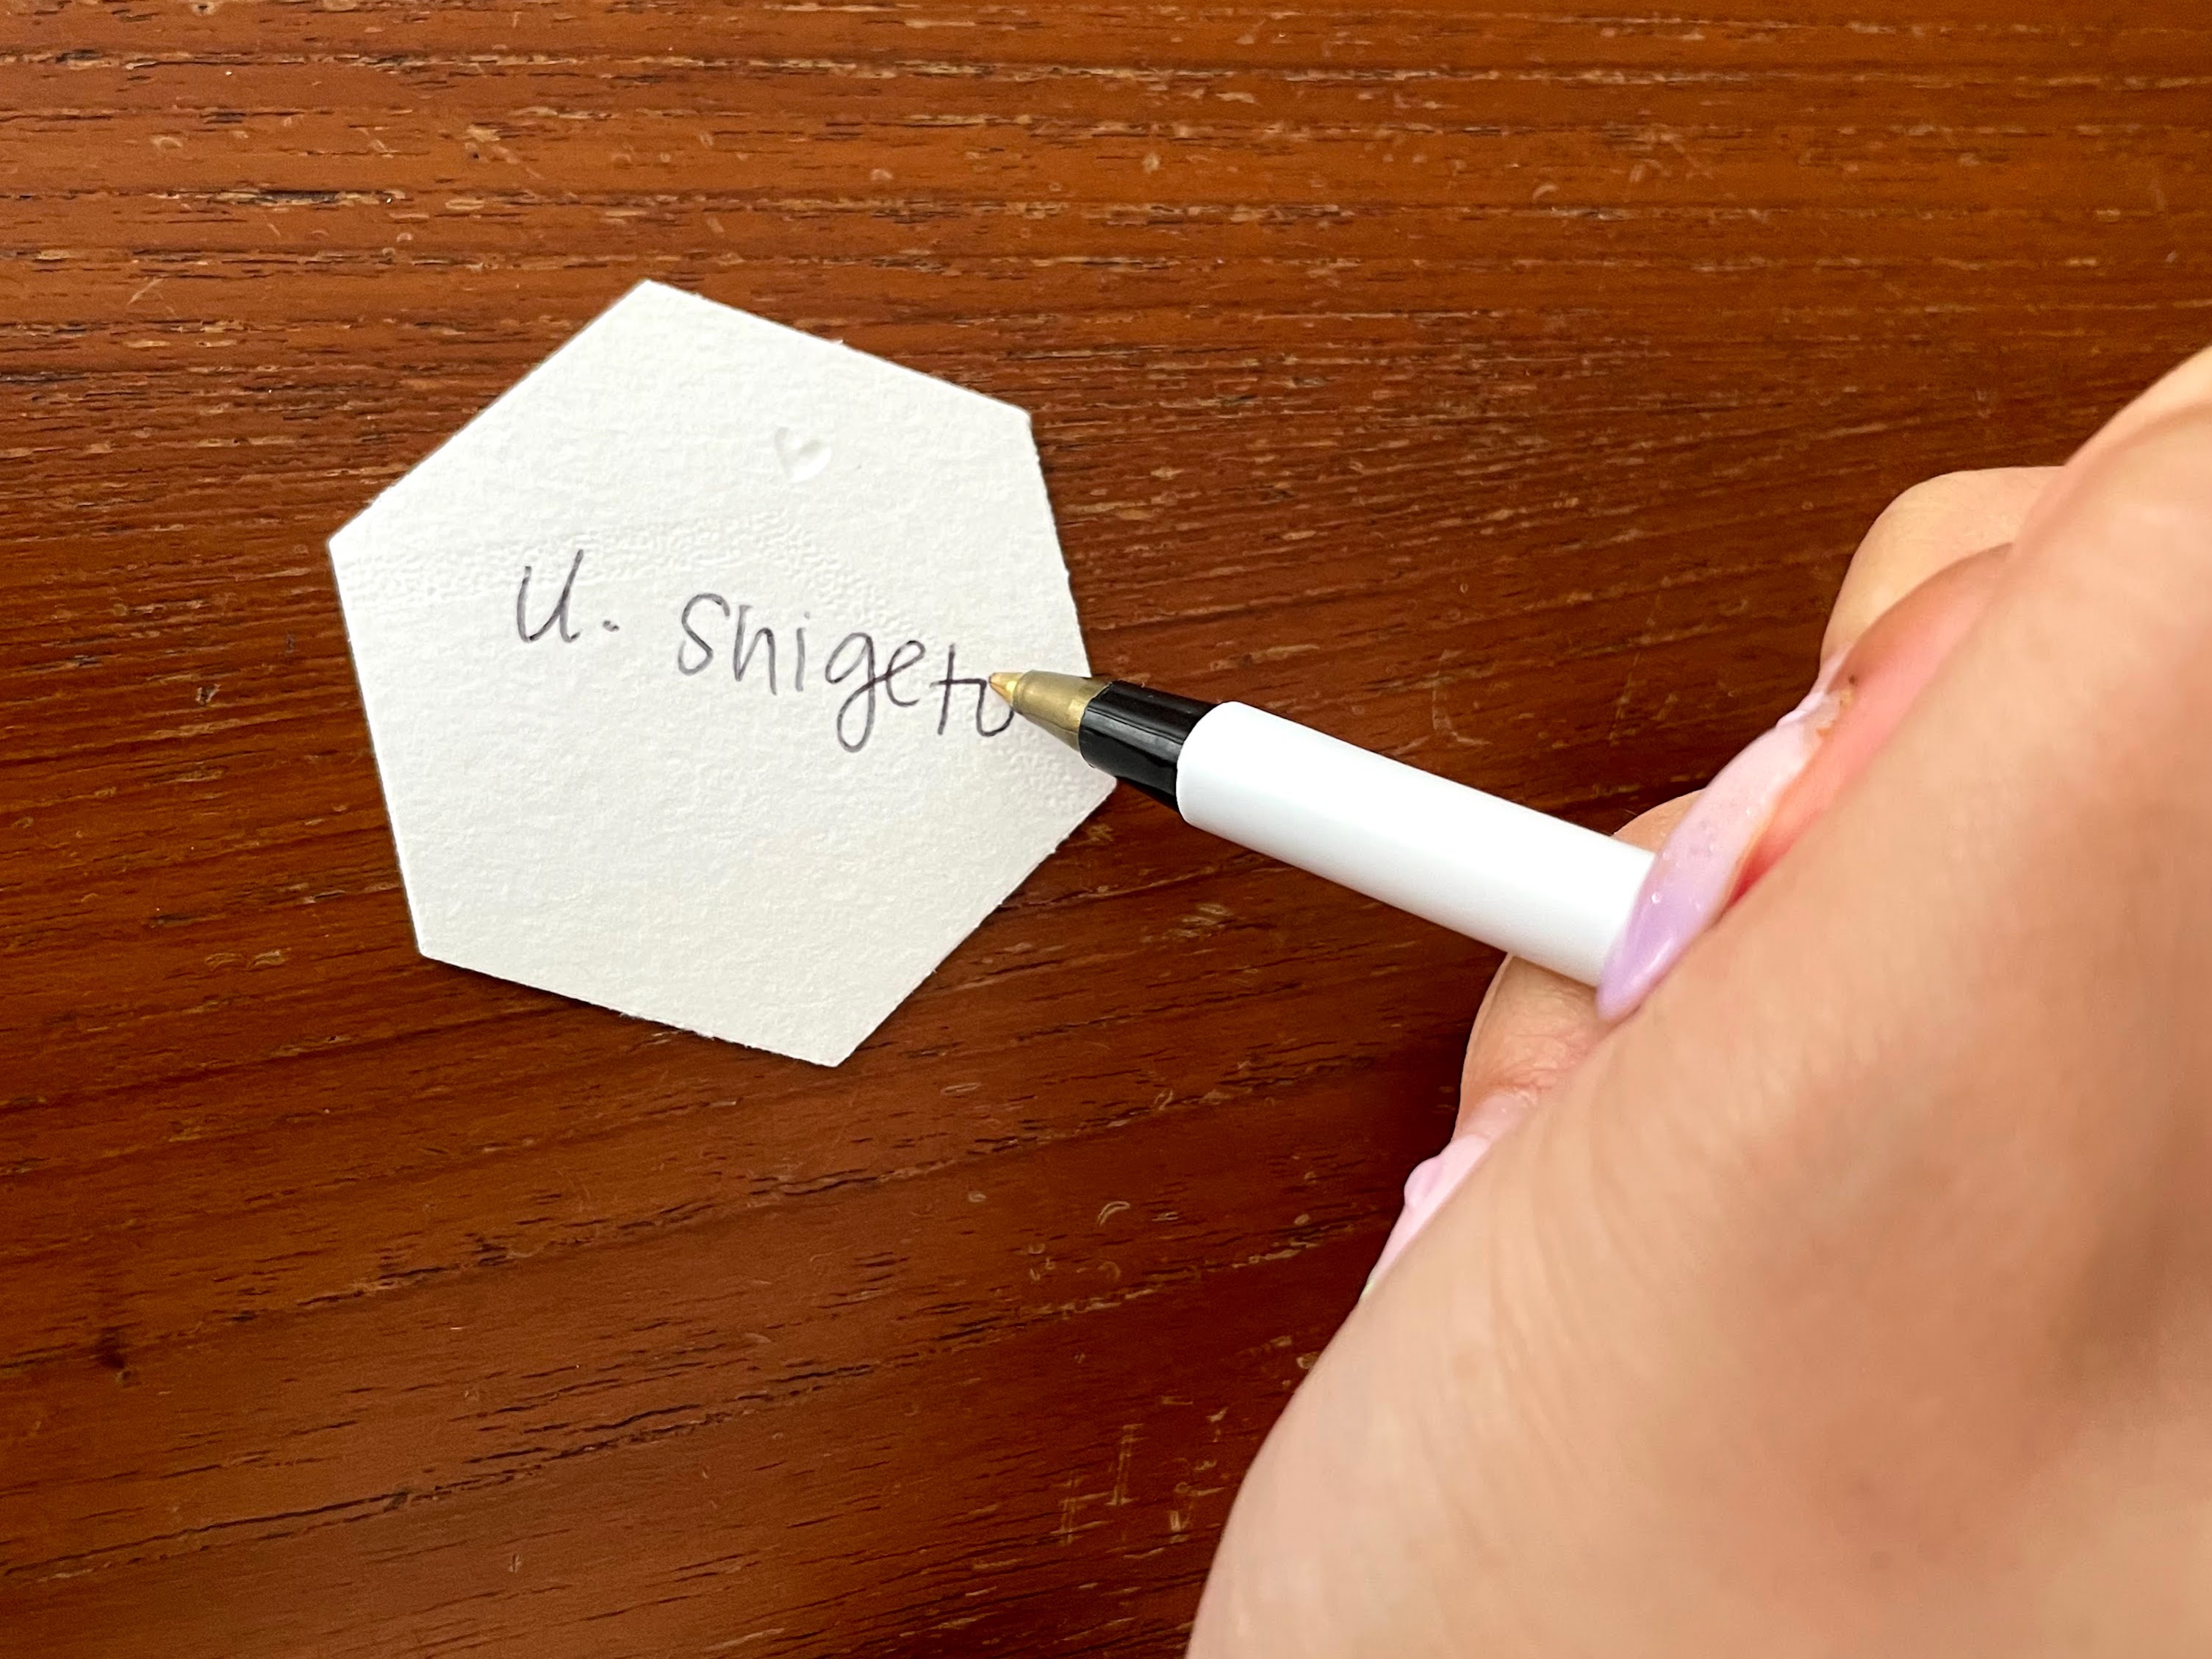
(Optional Step 3a - write the sender's name on the back of the hex. This was just something that helped me keep track of each one but since I was planning to glue them on, I knew I wouldn't necessarily be able to see the names again after everything was set)
I used already punched cards as a "window"/frame over other cards to help me visualize how the hex would look. 

For more elaborate cards, there was often thick double stick tape that I was able to unstick the 3D portion and then punch out the base of the card. Then I used glue to restick the 3D piece back on. Or I kept the 3D pieces on the side if I thought I would use it elsewhere.


A small tip from me: Don't immediately throw away the card after you've gotten your punch out of it. Sometimes the layout doesn't turn out quite as you anticipated, and you may want to do an additional punch later (even if you had a second choice earlier). I kept all of the cards in a bag on the side until I had completed the entire thing.

Step 4 - Once you've finishing punching, figure out your layout/how you're going to display the cards.


Once I felt confident that the hexagons would all fit in my intended frame, I moved on to
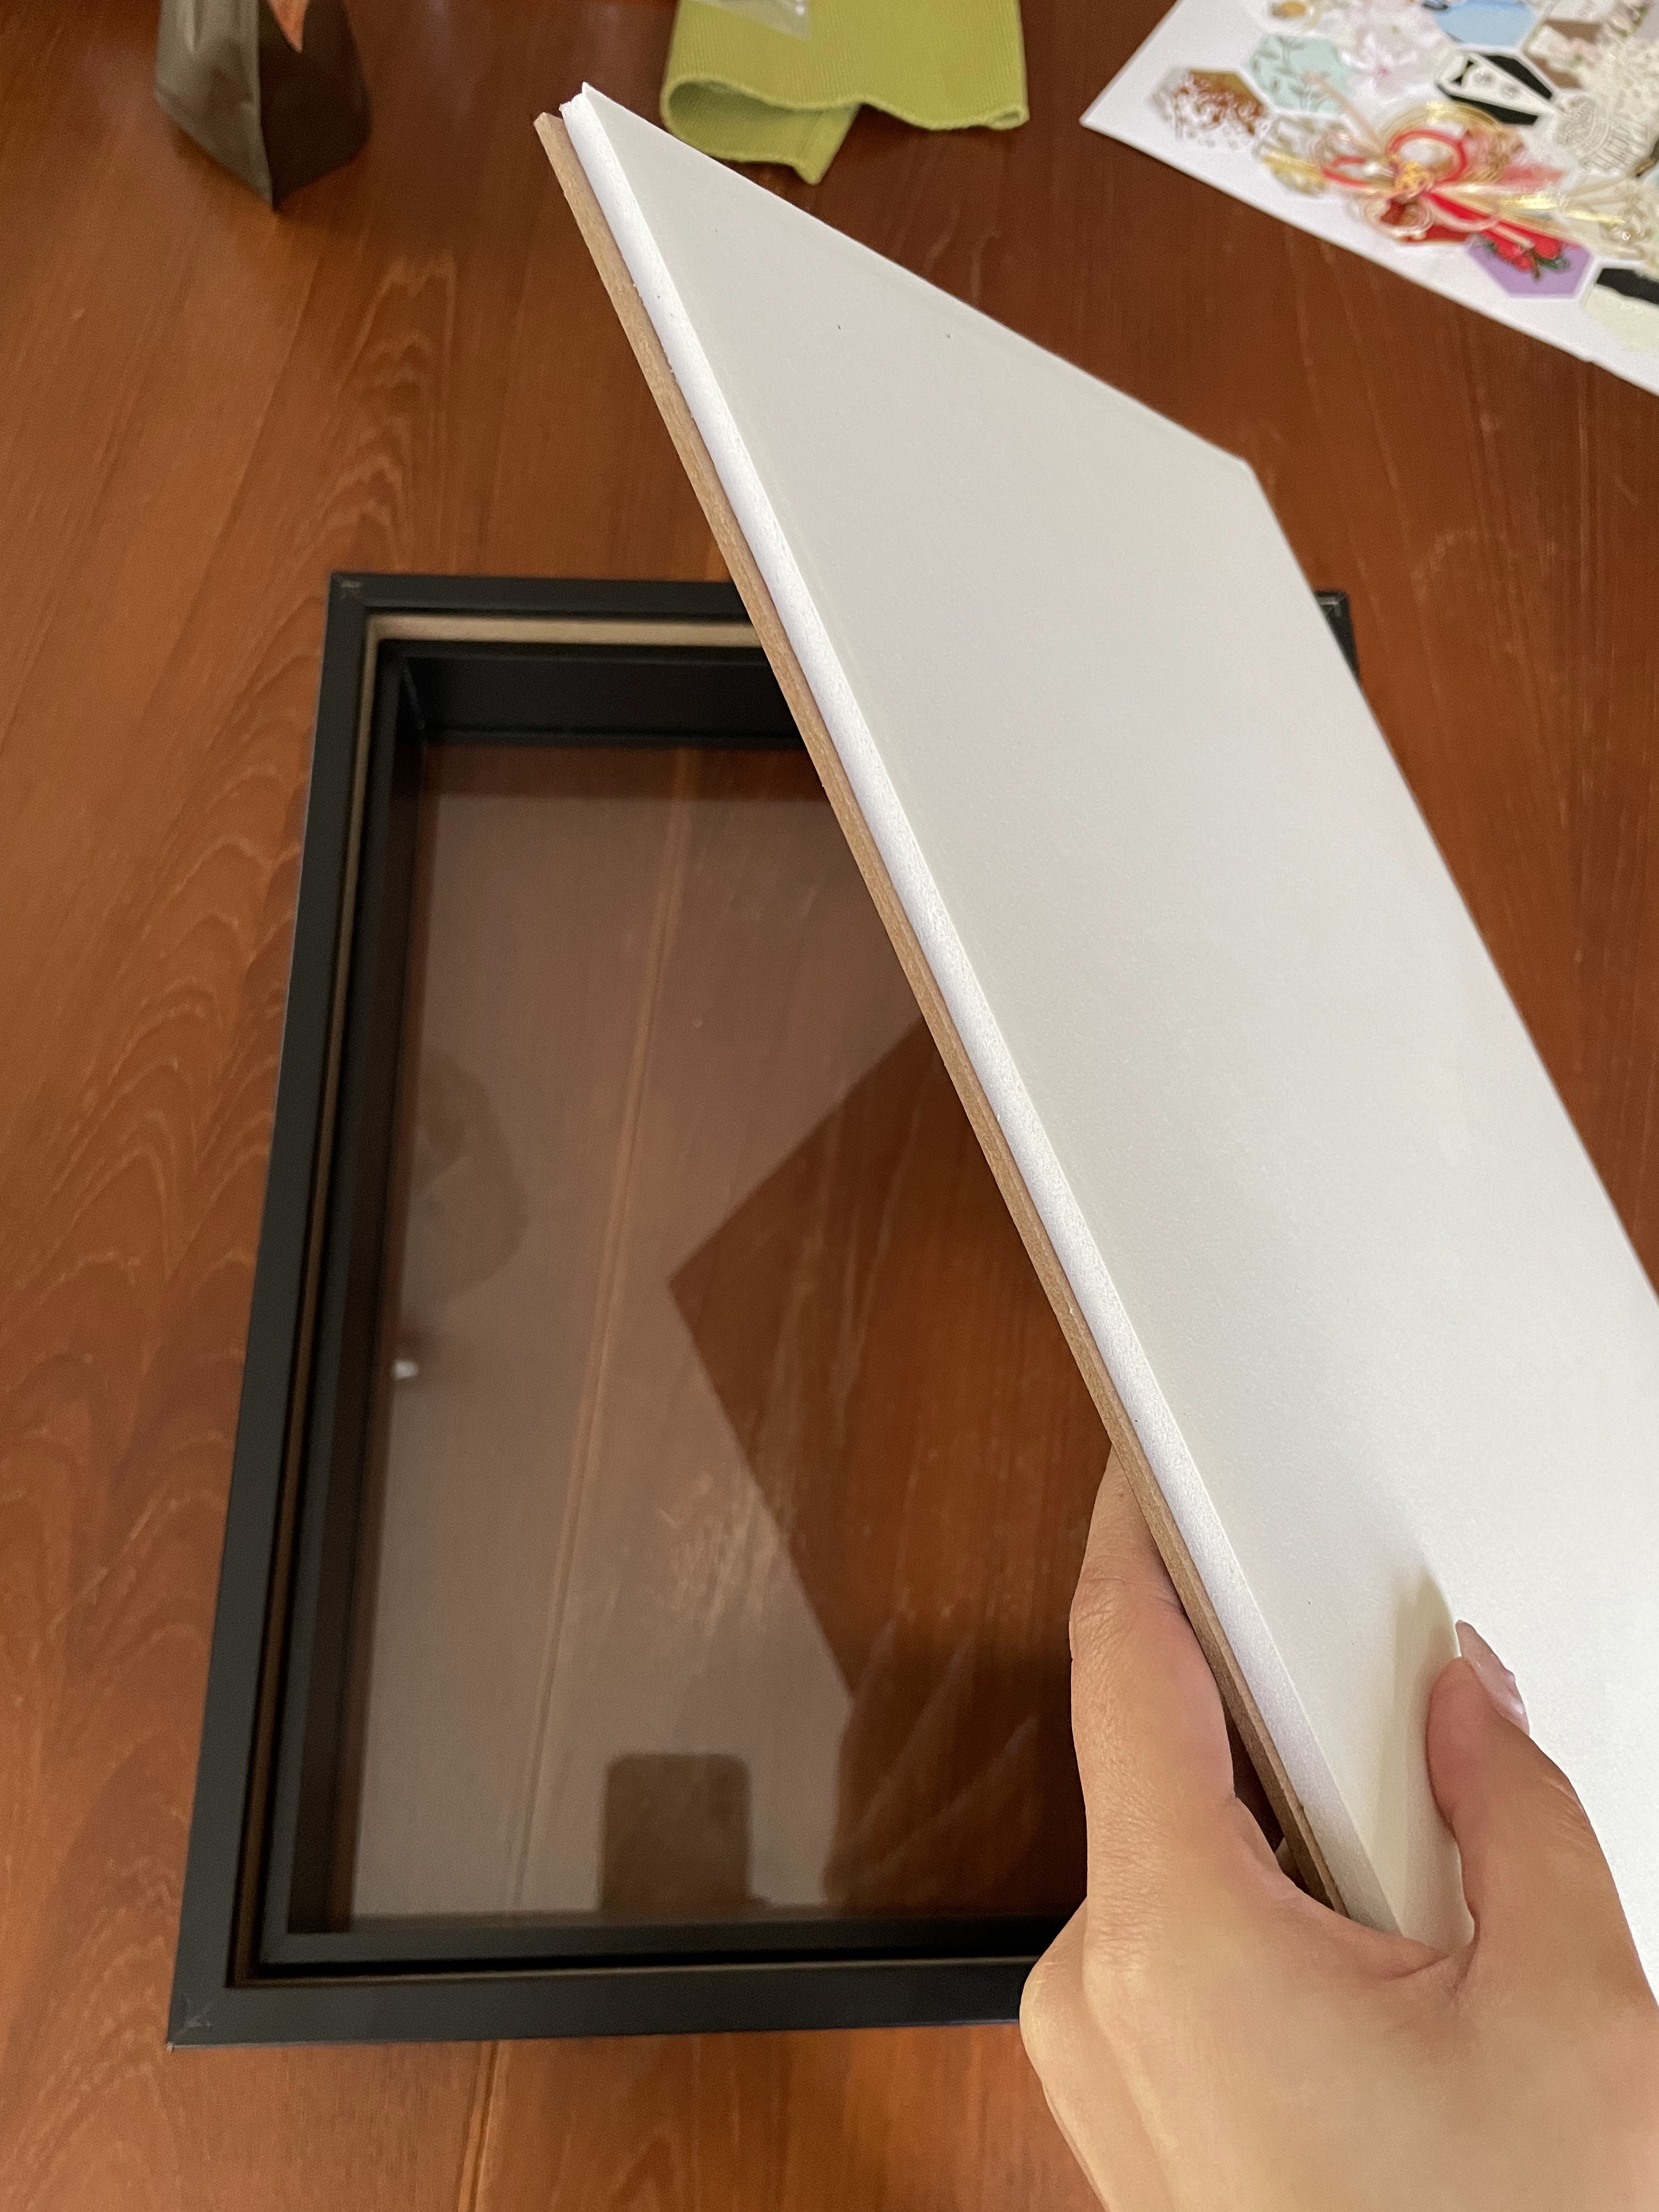
Step 5 - Get the frame/shadowbox! Since there were a couple pretty protrusive card details, I decided to go with a shadowbox instead of a typical flat frame. I looked at WalMart, Target and Amazon and eventually settled on this one from Amazon (some of the WalMart and Target frames wouldn't ship to Hawaii -__-). This one is 2" deep but my preference would have been something a little shallower (like 0.5 - 1 inch).


 It came with a foam backing and some pushpins (which I didn't need). There was a removable inner frame/border that helps keep the backing at the proper depth that I often used to ensure my hexagons were spaced properly from the edges.


Step 6 - Pick the background color.
I had my original taped together white paper, but after looking at the cards and the black frame, we thought it might be interesting to try black! (Other good options might be your wedding colors or even a metallic.)


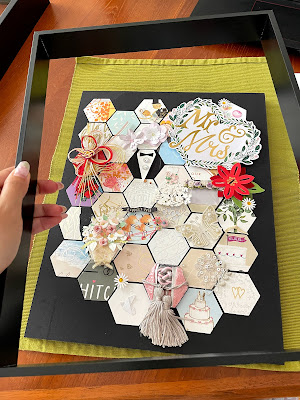
 The pictures with the frame were just mock ups (nothing glued down yet) so we could get a better idea of the final visual. My husband and I both ended up liking the black better, especially after seeing them side-by-side and the spacing between the frame and the hexagons. Luckily, I was able to find a piece of black cardstock big enough so that I didn't have to piece two smaller ones together, and I cut it to the 11" x 14" size.
Step 7 - Finalize the layout and glue it down!


I double checked on the spacing with the frame and then started gluing from the top left corner. Most of the cards aren't very thick, so I just used one dot of glue in each corner.


For the first few, I used a ruler to try to ensure the hexagons were actually straight/level, otherwise it might make the entire thing crooked! This isn't really necessary if you don't mind it being just slightly askew (but likely visually fine) but because I was very near the limits of the frame, I thought it would be important to be a little more precise at the beginning.


I waited about 12 hours for the glue to dry (especially for some of the heavier cards like the one with the tassels) and then finished assembling everything with the frame!


This can easily be done for lots of different life events where you want to create a keepsake - graduation, 1st birthday, 60th birthday, retirement. You don't even have to only cut out cards! I've seen some examples of people cutting out tickets/programs/brochures from trips too which makes for an abstract scrapbook that easy to display/see all at once. Let me know what you think!
oooh this is so cute! I'd love to do this idea for big trips.
ReplyDeleteYes! Tickets (plane tix, attraction tix, concert tix, etc) would be so cute as part of this especially also with some photos!
Delete